
Complete Walkthrough: Deploying Zabbix 7.4 on an Azure Virtual Machine (Ubuntu 24.04)
July 10, 2026
Monitoring network infrastructure and cloud resources is a critical component of modern IT and information security. Having a centralized, robust monitoring solution allows us to keep an eye on performance, detect anomalies, and prevent downtime.
Recently, I deployed Zabbix 7.4—an enterprise-class open-source monitoring and observability solution—directly onto a Microsoft Azure Virtual Machine. Zabbix is perfect for tracking the performance and availability of IT services, network devices, and servers.
Here is a step-by-step breakdown of how I provisioned the cloud infrastructure and configured the Zabbix stack.
Step 1: Provisioning the Azure Virtual Machine
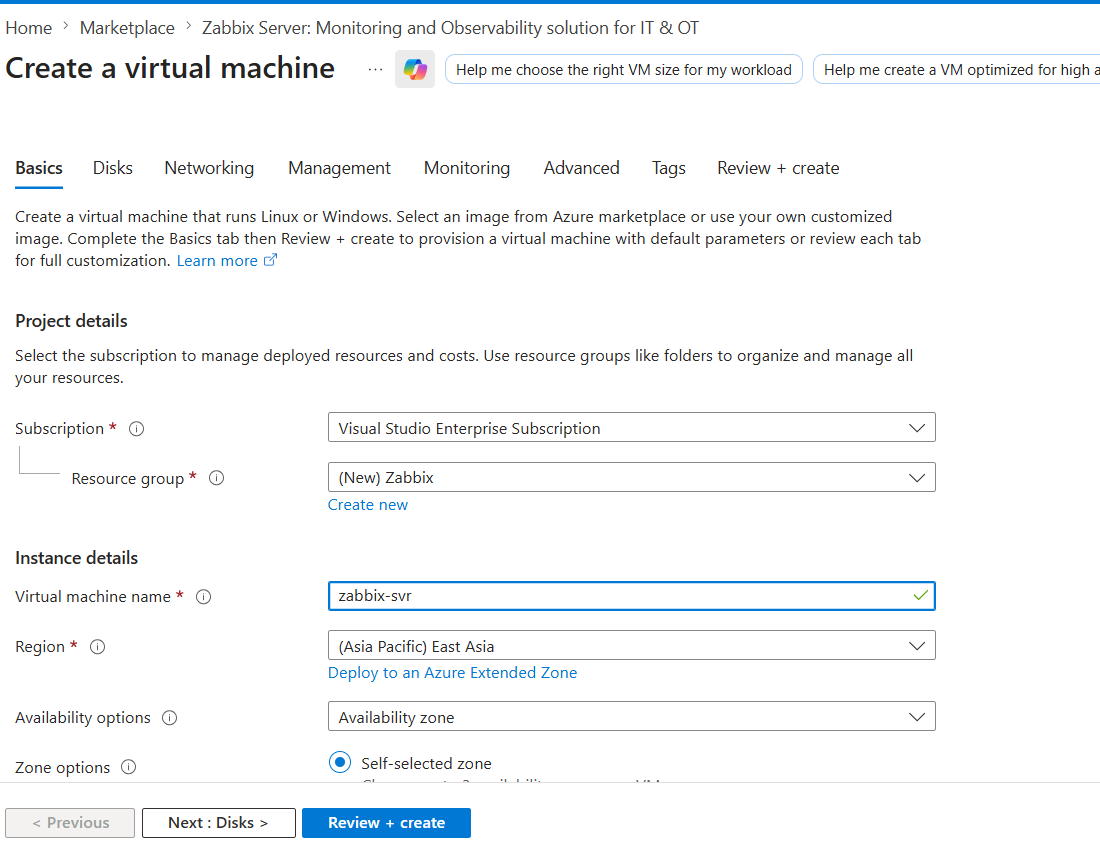
The first step was to spin up the infrastructure on Azure. Rather than starting from scratch, I utilized the Azure Marketplace and selected the official "Zabbix Server: Monitoring and Observability solution for IT & OT" image published by Zabbix.
Here are the specific instance details for this deployment:
- Image: Zabbix Server 7.4 - x64 Gen2
- Region: East Asia (Zone 1)
- VM Size: Standard_B2as_v2 (2 vCPUs, 8 GiB memory)
- Operating System: Ubuntu 24.04.4 LTS
- Resource Group: Zabbix
Step 2: Configuring Networking and Security
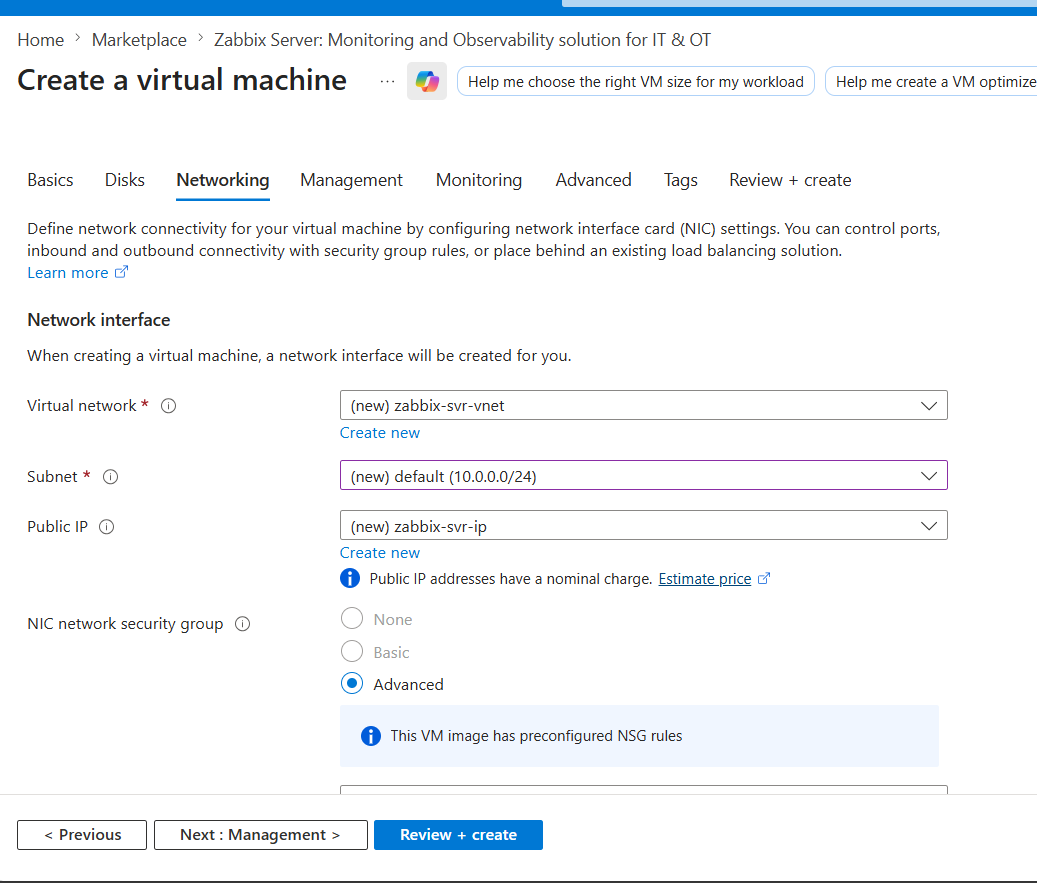
Security is paramount, especially when deploying monitoring tools that require access to various network nodes. During the VM creation, Azure automatically provisioned a Virtual Network (zabbix-svr-vnet) and a public IP address.
I ensured a Network Security Group (NSG) was attached to the NIC to strictly control inbound and outbound traffic.
Step 3: Installing the Database (MySQL)
Once the VM was live, I connected via SSH (as user aks@zabbix-srvr) and switched to the root user to begin the backend setup. Zabbix requires a robust database, so I installed MySQL Server first.
Here are the commands I ran:
apt update
apt install mysql-server
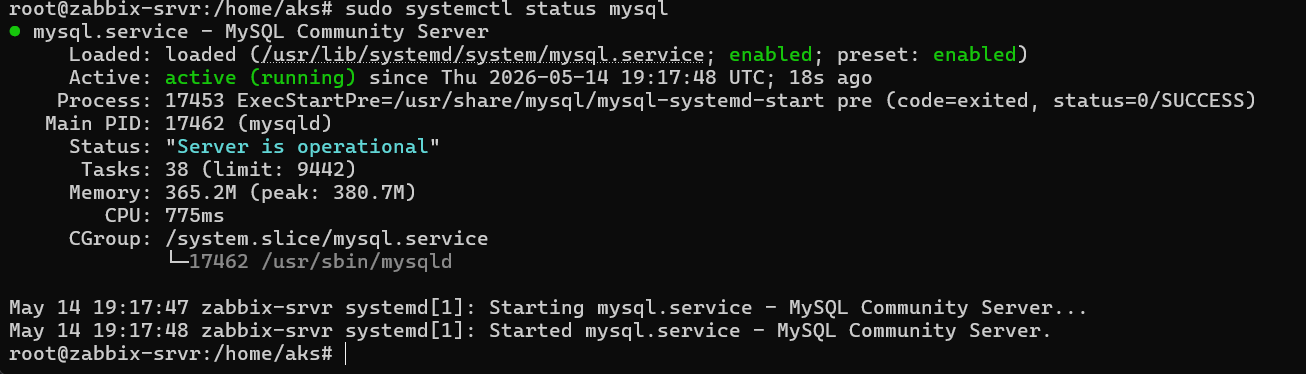
systemctl status mysql
Checking the status confirmed that the MySQL Community Server was actively running and operational.
Step 4: Installing the Zabbix Stack
With the database ready, I moved on to installing the actual Zabbix components. First, I downloaded and installed the official Zabbix 7.4 repository package for Ubuntu 24.04:
wget https://repo.zabbix.com/zabbix/7.4/release/ubuntu/pool/main/z/zabbix-release/zabbix-release_latest_7.4+ubuntu24.04_all.deb
dpkg -i zabbix-release_latest_7.4+ubuntu24.04_all.deb
apt update
Next, I installed the Zabbix server, the PHP frontend, the Apache configuration, and the Zabbix agent in one go:
apt install zabbix-server-mysql zabbix-frontend-php zabbix-apache-conf zabbix-sql-scripts zabbix-agent

5: Web Frontend Setup
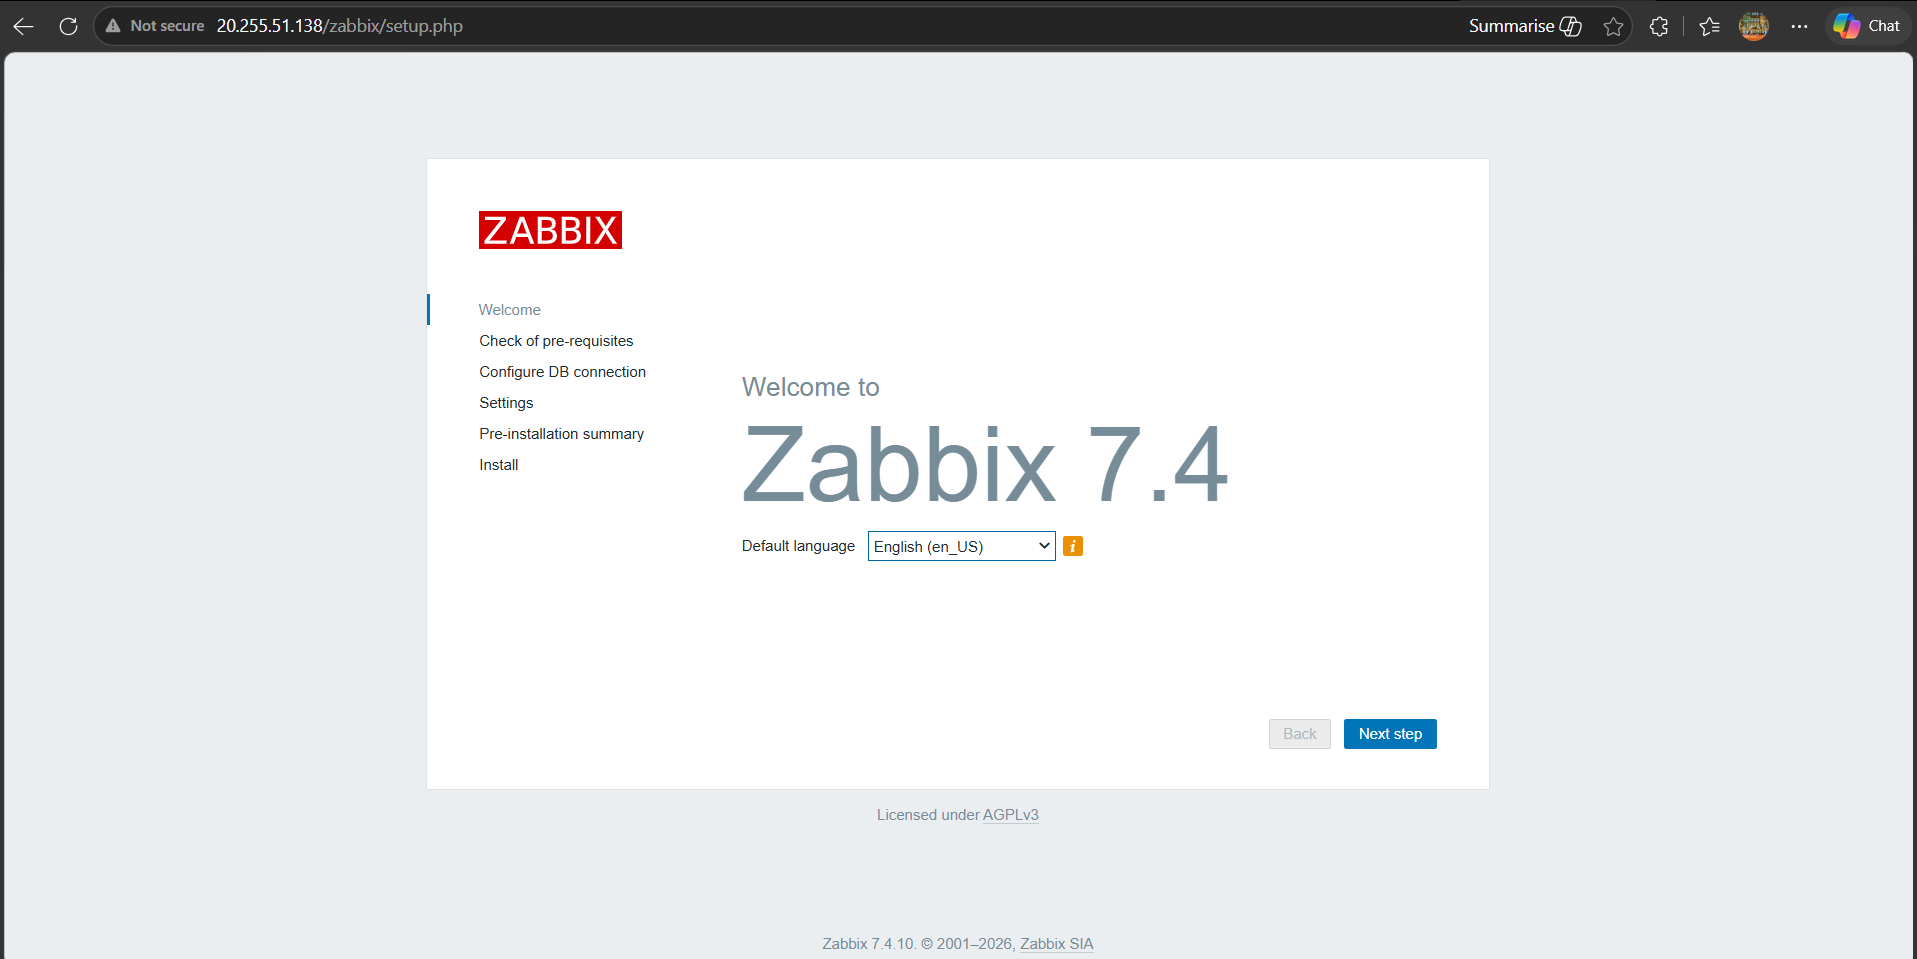
With the backend software installed and configured, the final step was connecting everything via the web interface. I navigated to 20.255.51.138/zabbix/setup.php in my browser, which launched the Zabbix 7.4 installation wizard.
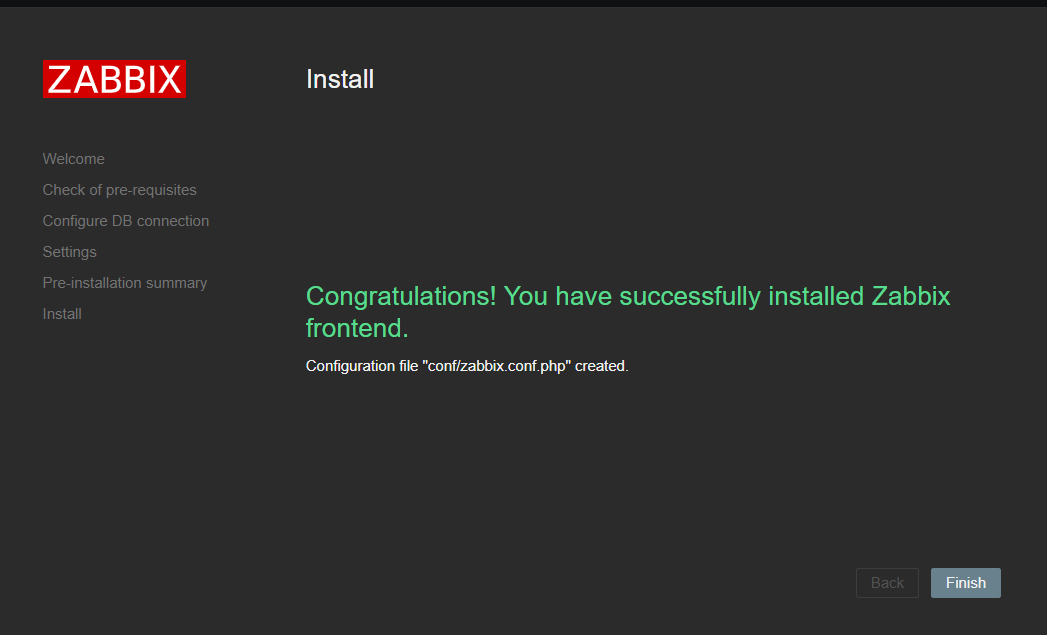
The wizard guided me through checking the PHP prerequisites, configuring the database connection settings, and finalizing the installation. Once complete, a zabbix.conf.php file was automatically generated, and I was greeted with the "Congratulations!" success screen.
Next Steps & Troubleshooting
The server is now fully operational and ready to have hosts onboarded. During my initial agent rollouts, I did encounter a minor issue when trying to start the Zabbix Agent service on a Windows Local Computer, which threw an Error 1053: The service did not respond to the start or control request in a timely fashion. Resolving this common service timeout issue will be the topic of my next troubleshooting post!